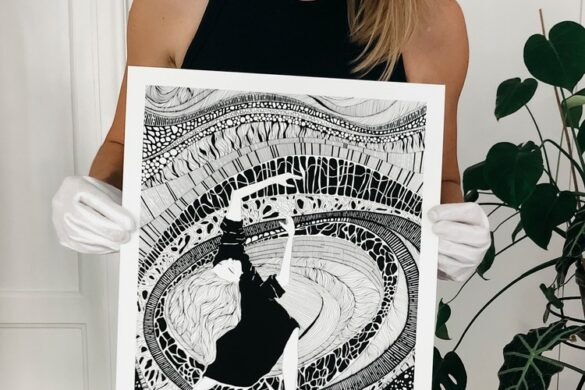

Ever wondered how PoP member Lee Richards creates his mesmerising tree ring prints? Well, you need to wonder no more… Here, Lee is taking you through his printmaking process step by step.
In recent months, I’ve had quite a few people reaching out asking questions about the process, steps, and where to begin when starting to create tree ring prints. So, I’ve decided to make a step-by-step guide with some tips on how to start and what to do using a new olive tree slab. Hopefully, if you are looking to create your own tree ring print, you find this guide useful.
First things first.
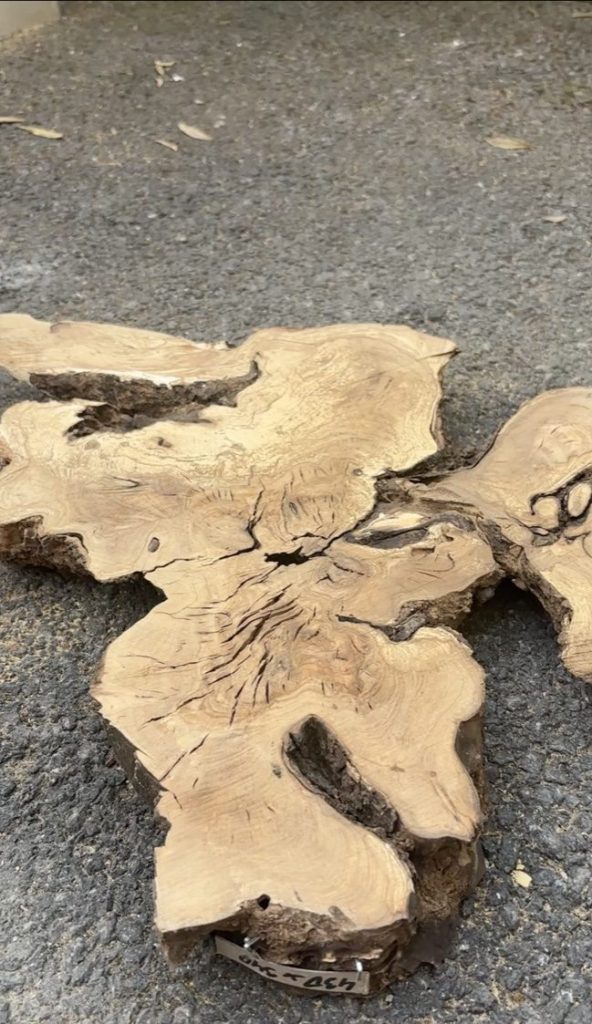
The very first thing you need is a live edge tree slab from the trunk. Sometimes called a tree coin or cookie. You might happen to have one already, but if you don’t, I highly recommend looking on eBay and Facebook Marketplace. You can honestly find everything on those platforms, and from my experience, you have tree surgeons selling off cuts from various trees for very reasonable prices, in all shapes and sizes.
I wouldn’t say there is a minimum or maximum size. However, you want to be able to move the tree slab around without injuring yourself and to be able to fit into whatever space you’re using to print. For this guide, I will be using an olive tree root slab.
Sanding
(For the next few steps, I recommend working outside, as it does make a big mess, but if you’re working inside, make sure you are wearing a face mask and have good ventilation).
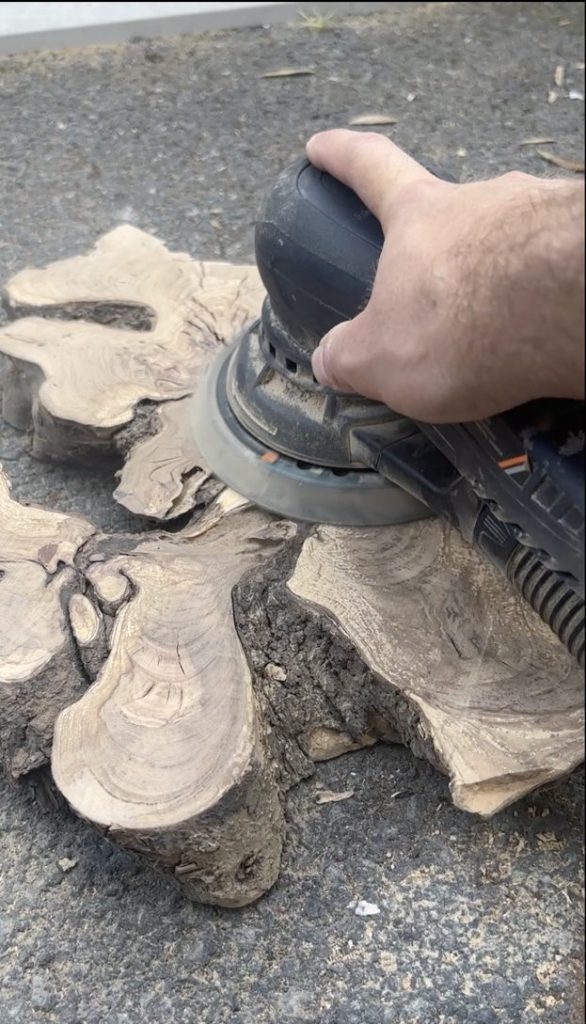
Once you have a tree slab ready, the next step is sanding the slab to a smooth and flat surface as much as possible. When I start this step, I first use a belt sander with a very low grit sandpaper, such as 40 or 80. The lower the grit, the higher amount of surface is removed. The main reason for using a belt sander is that I find it helps to flatten out and rough bumps or large saw marks.
Next up is using the disc sander. Same idea as with the belt sander: I start with a low-grit sandpaper and then move to a finer grit such as 180 to get the surface as smooth as possible. The main reason for this step is that the surface has a high evenness so that it’s easier to ink up and produce an extra-clear print.

Swelling the Grain
After sanding, you want to swell the wood grain with water; simply pour some water onto the slab and use a cloth to spread it around the top surface. This causes the younger grain to swell more, as the younger grains are less dense than the older grain. This is essential for the next step.

Burning the surface
(I very much recommend working outside for the burning part. As you will be working with a flame, so any near flammable objects are at risk).
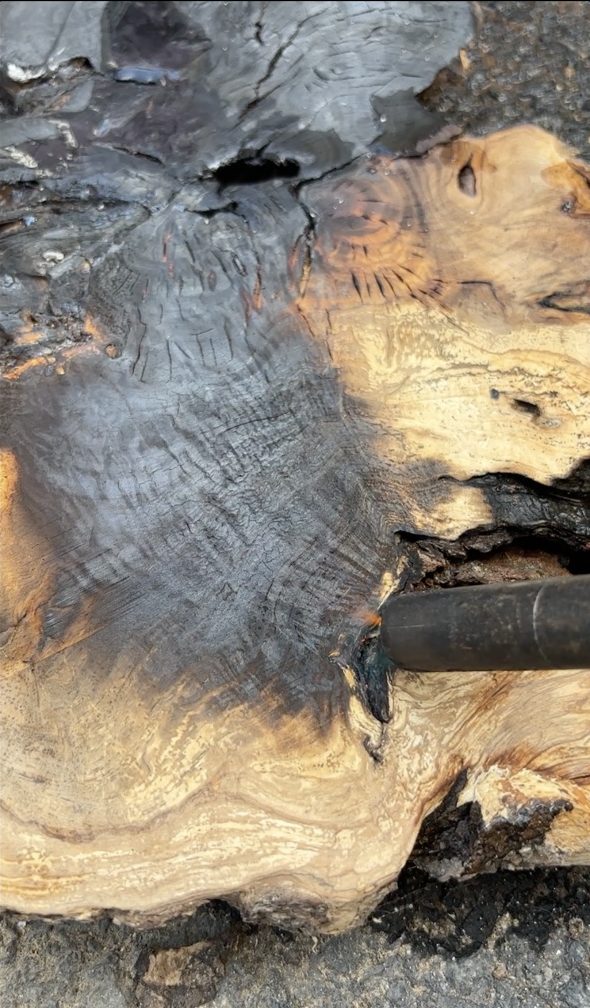
Once the grain has swelled, use a blowtorch to start burning the surface so that the younger grain burns away quicker than the older grain. Softwoods take less time to burn, and hardwoods can take a lot longer to burn. This helps to create a more defined surface where the tree grain pattern becomes more pronounced with a ridge effect.

Cleaning the ash and debris
Let the surface cool down, and then use a wire brush to start cleaning the surface so that any dirt is removed and the surface becomes more ridged as the younger grain is being removed while the older grain remains. It’s usually easier to follow the path of the grain pattern for this part.
Sealing the surface
After the tree slab surface has been fully cleaned, the next step is to seal the surface. This also helps to create a smoother printing area and also helps protect the slab from any inks that will be used in later steps. I personally use shellac as that’s what I’m used to using, but any sealant that helps make it water resistant will work. Best practice is to do 3 or 4 coats.
Prepping the Ink
I can’t recommend using the correct ink enough for this. As the correct ink helps to create much better opaque prints with consistent colour density. I use a relief printing ink from a few different brands, but as long as it’s relief ink, then it will work. This is usually oil-based ink, so be careful when using it, as it can be messy; wear gloves if you can.

Place a somewhat generous amount on the inking plate, which can be a flat piece of glass or plastic. Then place a small amount onto the brayer (roller) using a palette knife. You can get a range of different quality brayers, but I would say if the brayer isn’t too wide, then any will do, as if the brayer is too big you might struggle to ink the grain consistently depending on how even the surface.
Roll the brayer against the inking plate so that you get an even, consistent layer of ink on the brayer. A noise like Velcro is usually a good sign that it’s ready. Then proceed to start rolling the ink onto the surface of the tree slab.

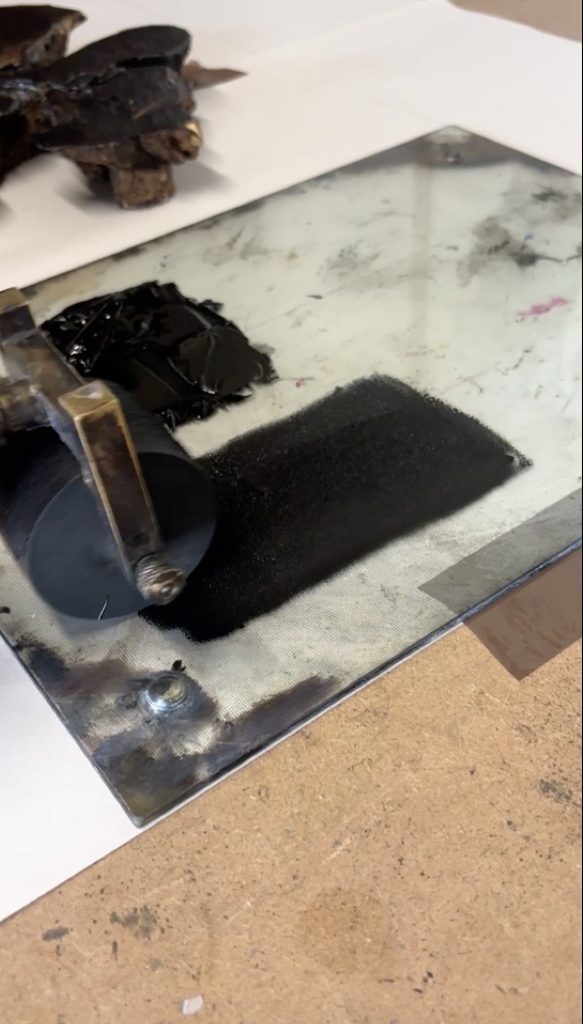
The inked surface.
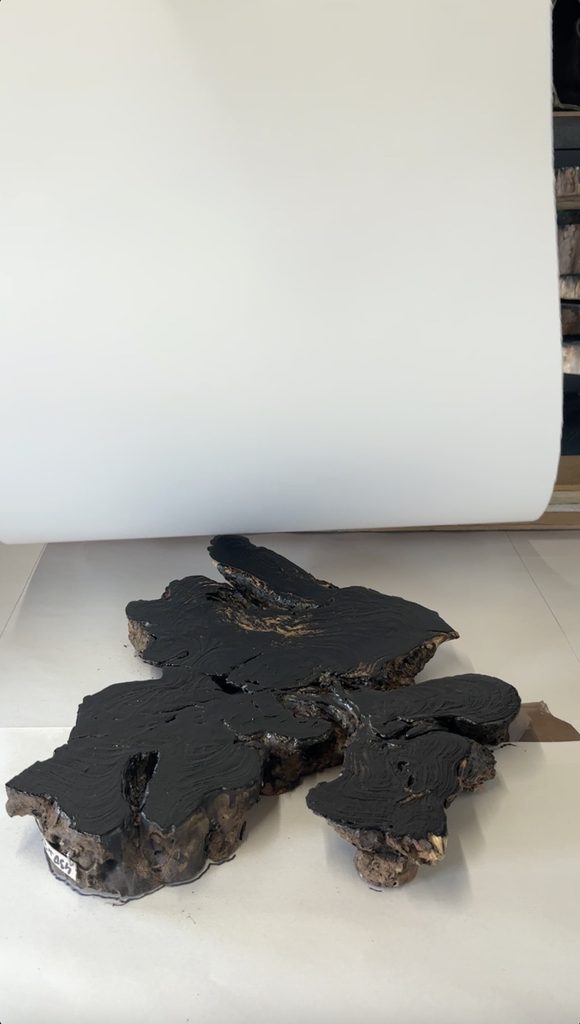
An easy trick to tell if there is enough ink on the surface is to hold a phone torch above, and if the light is reflecting, then that means there should be adequate ink on the tree slab.

Paper
When it comes to picking paper, you’re better off using artist-quality paper that is no higher than 200gsm, smooth or handmade. As you will most likely be burnishing the surface by hand, you don’t want thick paper, as it can make it more difficult to get a clear print of the grain. Ideally, you should place the paper on top of the slab so that it’s in the centre.
Burnishing
Once the paper is on top of the tree slab, I would place some heavy objects on top just to help make sure the paper doesn’t move when burnishing. For burnishing, you can use a bunch of different options, but a wooden spoon, plastic or bamboo baren, or soft roller all work well. The aim is to carefully work your way around the entire surface so that you burnish against each part so that the final print has the image printed.

The reveal
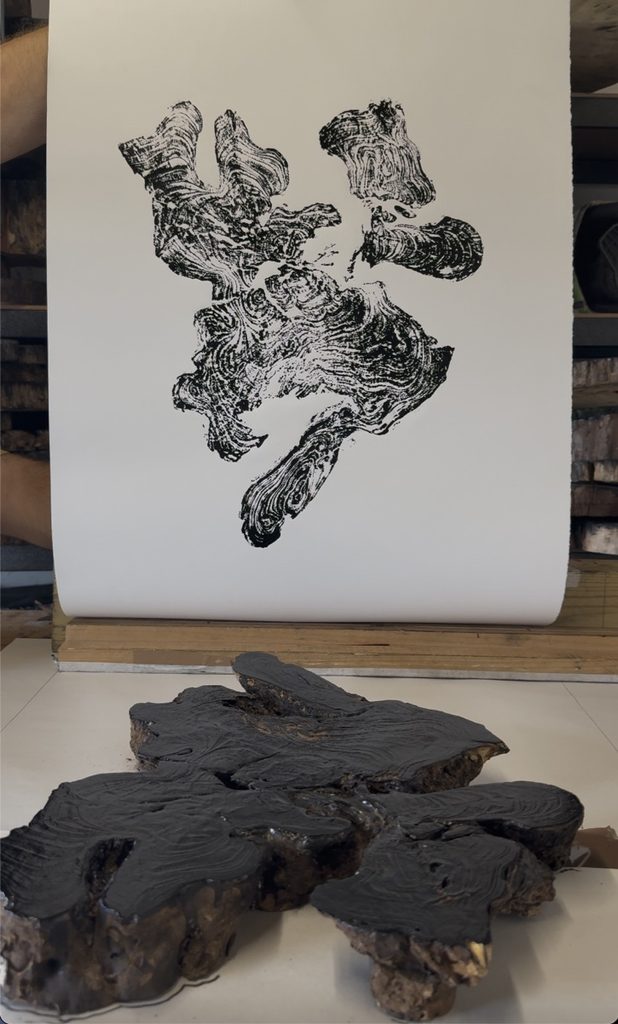
Next, carefully remove the heavy objects and lift the paper up, and hopefully you will have a crisp, clean tree ring print. Now you can re-ink the surface again to print more or get ready to clean.
Cleaning
So, if you used oil-based inks, I recommend using gloves. To clean the ink up, I would use either vegetable oil, zesty lemon remover, or white spirit. All three work well enough to remove the ink, but if you’re using white spirit, make sure the space has good ventilation. Make sure to fully clean the surface, as any excess ink can dry into the grain and affect any future prints if the tree slab is used again.
Instagram: www.instagram.com/lee_richards_illustration
Shop: www.etsy.com/uk/shop/LeeRichardsDesigns
Website: https://leerichardsillustration.com/

Want to know more about our membership? Give us an email at members@peopleofprint.com.
- Order From Pattern, Disorder From Chance: Sun Möller-Park’s Ready, Set, Fuse – Pt. 2 - October 5, 2026
- Hidden in Plain Sight: Kidnichols and the Making of Mountain Moves - October 5, 2026
- The Quiet Work of Ritual: Garden Party Magazine, Issue 03 - October 5, 2026